Tag: air dry clay

  • Is Modelling Clay the Same as Air Dry Clay?

    Is Modelling Clay the Same as Air Dry Clay?

    Modelling clay and air dry clay are not necessarily the same thing.

    “Modelling clay” is a broader term that describes any soft, putty-like material that can easily be shaped with the hands to make models and sculptures.

    Air dry clay is therefore a type of modelling clay, as is something like plasticine, which is an oil-based material that doesn’t harden or dry out.

    What is Modelling Clay?

    Modelling clay is a general term for a soft material that can be moulded with the hands to make figures and models.

    It can include materials such as:

    What is Air Dry Clay?

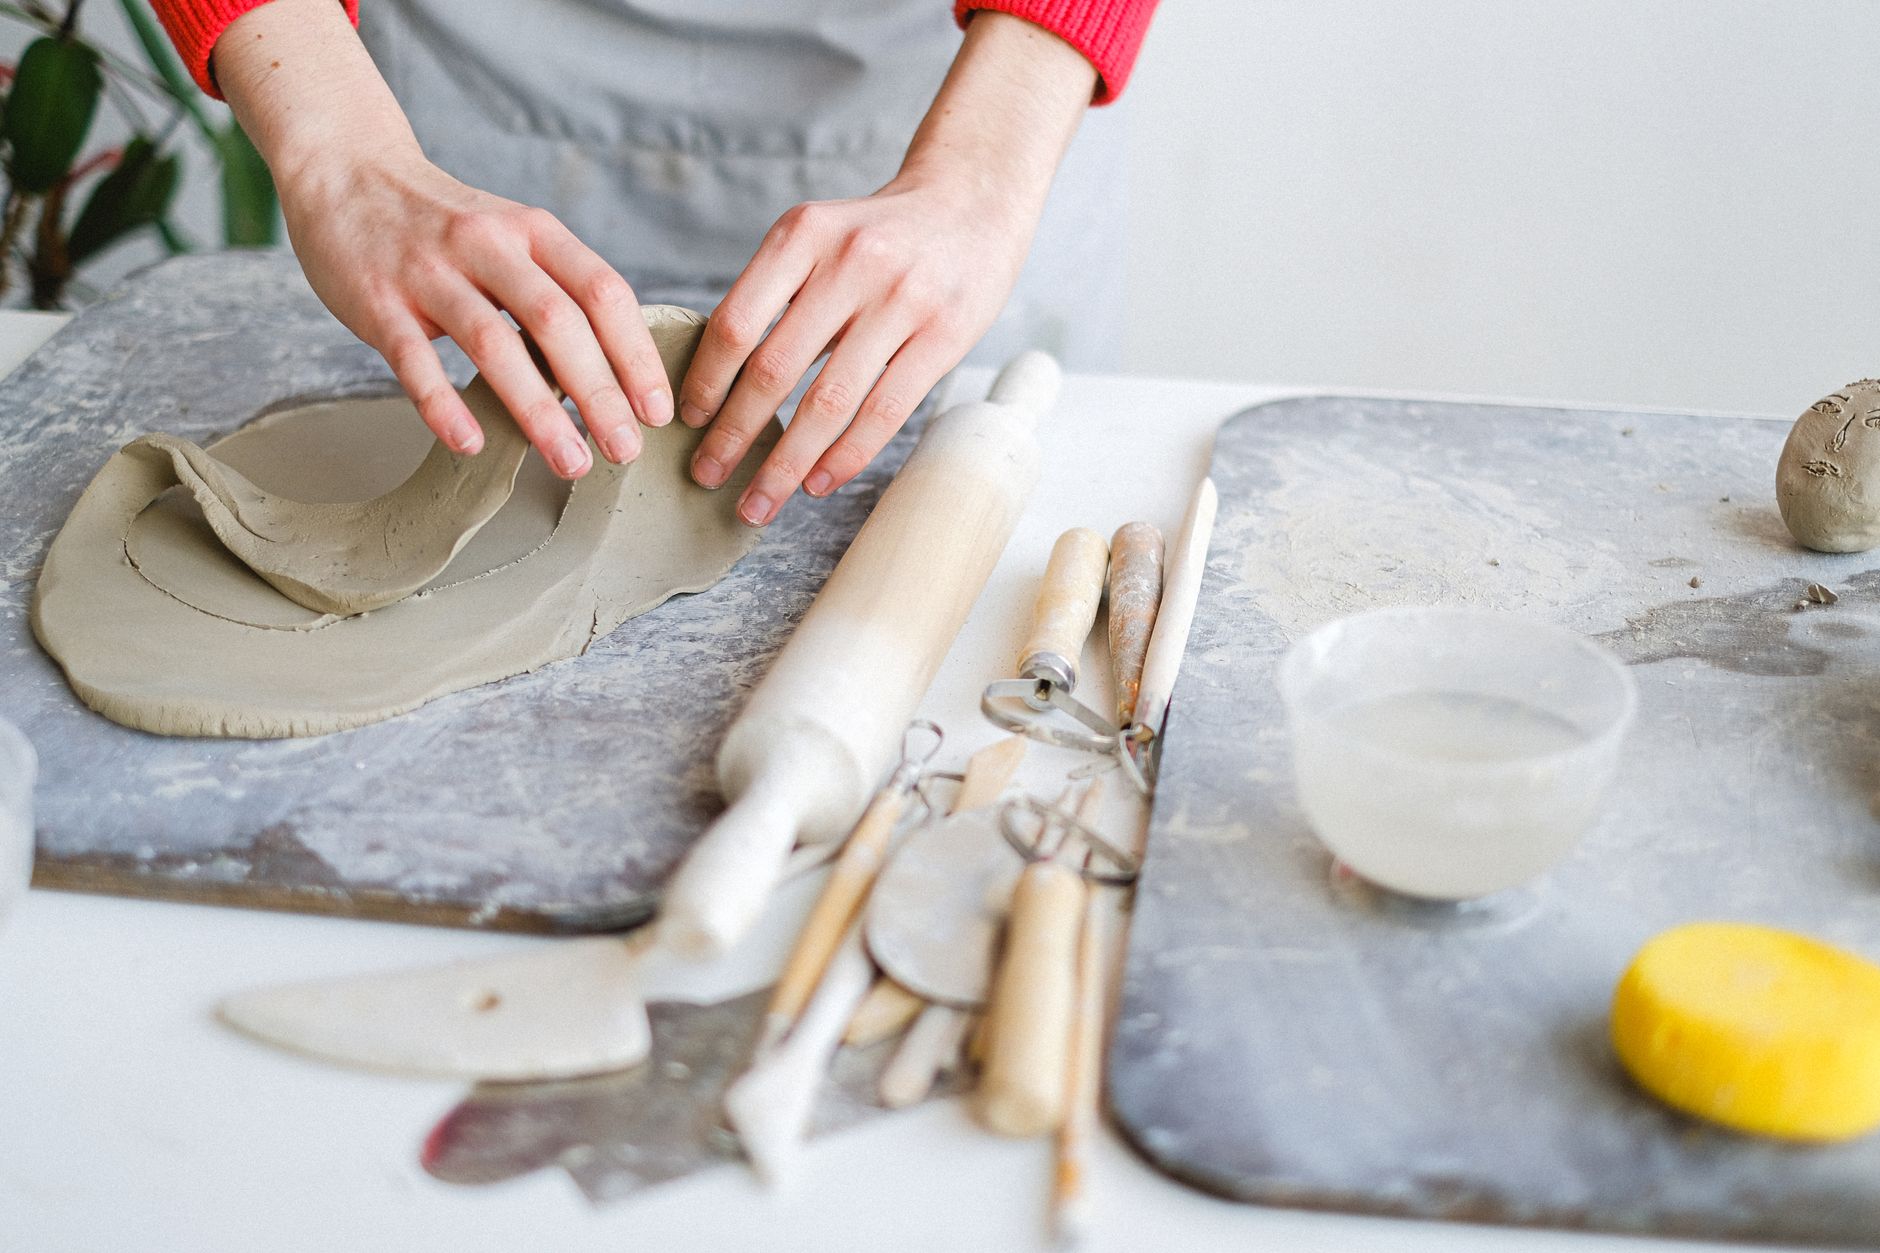
    Air dry clay is a modelling material that hardens when it’s left exposed to air and its moisture evaporates.

    Air dry clay is a very beginner-friendly material, as it doesn’t require the use of a heat source to dry (unlike polymer clay, which is baked in an oven, or pottery clay, which requires a kiln).

    Air Dry Clay is used for small items, such as:

    • Decorations
    • Charms
    • Jewellery
    • Trinket dishes

    It is not suitable for large sculptures, or crockery that is designed to hold food or water.

    Does Modelling Clay Dry Out?

    This depends entirely on which type of modelling clay you are using.

    Plasticine doesn’t dry out and harden when exposed to air, making it a popular choice with children. It is therefore not designed for projects where you want to keep your design. Plasticine can be remoulded very easily and shaped into something new.

    Air dry clay, on the other hand, will harden if it’s left out of its packaging and is exposed to air. Polymer and pottery clays will also harden with heat exposure.

    Read Next

  • Can Air-Dry Clay Get Wet After Drying?

    Can Air-Dry Clay Get Wet After Drying?

    Air-dry clay can survive a small accidental splash after it’s dried, but it should not be repeatedly exposed to water (let alone submerged in liquid!)

    Most air-dry clay remains porous after drying. Water can soak into the material, causing it to soften, swell, lose its shape or eventually begin to break apart.

    Is Dried Air-Dry Clay Waterproof?

    No, ordinary air-dry clay is not waterproof.

    Even if the surface feels completely hard, the clay can still absorb moisture. Crayola, for instance, states that its dried air-dry clay is not waterproof, even if it has been sealed. The company therefore suggests that you display finished pieces indoors.

    Air-dry clay is therefore better for decorative projects than objects that need to hold water or organic materials. It’s also not food safe, so shouldn’t be used to attempt to make crockery.

    What Happens If Air-Dry Clay Gets Wet?

    The effect depends on how much water reaches the clay and how long it remains wet.

    A few drops may not cause obvious damage if you wipe them off quickly. More prolonged exposure, however, can make your clay:

    • Become soft or sticky
    • Develop marks or discolouration
    • Warp or lose its shape
    • Crack as it dries again
    • Separate from paint or decorations
    • Gradually begin to break down

    Thin sections and unsealed edges may be particularly vulnerable because moisture can enter them more easily.

    Can You Seal Air-Dry Clay Against Water?

    A suitable varnish or sealant can make air-dry clay more water-resistant, but it can’t make it more waterproof.

    Can Air-Dry Clay Be Used Outside?

    Air-dry clay is generally unsuitable for permanent outdoor decorations.

    Rain, humidity, frost and changing temperatures can all affect the clay. Even a sealed piece may deteriorate when it is repeatedly exposed to outdoor conditions. Crayola specifically recommends keeping dried and sealed air-dry clay pieces indoors.

    A temporary outdoor display may survive for a while, but it should be brought indoors before rain and stored somewhere dry.

    Can Air-Dry Clay Hold Water?

    You should not normally use air-dry clay to make working mugs, bowls, vases or plant pots that will remain in contact with water.

    You can create a decorative vase cover or plant-pot sleeve, but place a waterproof glass, jar or plastic container inside it. This keeps the water separate from the clay.

    What Should You Do If It Gets Wet?

    Wipe away the water without rubbing the clay. Place the object somewhere dry with good airflow and allow it to dry naturally.

    Do not use intense heat, such as attempting to bake your clay, as drying the surface too rapidly may encourage cracking. Once the piece is completely dry, inspect it for softness, warping or damaged paint before resealing it if necessary.

    Air-dry clay can tolerate an occasional minor splash, but keeping it dry remains the best way to protect your finished project and keep it looking good.

  • Do You Need Gesso Before Painting Air-Dry Clay?

    Do You Need Gesso Before Painting Air-Dry Clay?

    No, you don’t usually need to apply gesso before you paint air-dry clay.

    Many air-dry clays can be painted directly once they’re completely dry. Acrylic paint is a common choice, although you should check the instructions on the clay you have and perhaps the paint on a spare piece before you commit!

    Why Use Gesso on Air-Dry Clay?

    Gesso is a type of primer that prepares a surface for painting. It can provide a more consistent base and give paint additional texture to grip on to.

    You might use gesso to:

    • Cover over the original colour of the clay
    • Create a uniform white surface
    • Make pale paint colours appear more clearly
    • Reduce differences between repaired or sanded areas
    • Prepare the surface for a more detailed painted finish

    Gesso can be particularly helpful when the clay you’re using is dark, unevenly coloured or highly absorbent.

    When Can You Paint Without Gesso?

    You can often paint directly onto the clay when:

    • The piece is completely dry
    • The surface is clean and free from dust
    • You are using a compatible acrylic or craft paint
    • You are happy with the clay’s existing colour and texture

    How Do You Apply Gesso?

    Make sure the clay is fully dry before you try to prime it. Remove sanding dust with a clean, dry brush and apply a thin, even layer of gesso.

    Allow it to dry before adding another coat or beginning to paint. Several thin coats will usually create a neater surface than one very thick one.

    Gesso can leave a slightly textured finish, so test it first if you want the clay to remain very smooth.

    Should You Seal the Clay Afterwards?

    Gesso is a painting primer rather than a waterproof protective coating.

    Once the paint has dried, you may choose to apply a compatible varnish for additional surface protection. Test the varnish first, as products can often behave a bit differently on different clays and paints.

    Varnish can help protect the finish, but air-dry clay shouldn’t be treated as waterproof, even after it has been sealed. Keep in mind that it’s not food safe, either.

    In short, gesso is an optional extra for your clay. Use it when you want a more uniform painting surface, but for many simple projects, you can paint directly onto fully dried air-dry clay.

  • Can You Bake Air-Dry Clay?

    Can You Bake Air-Dry Clay?

    Air-dry clay is designed to harden naturally when it is left exposed to the air. Unlike polymer clay or pottery clay, it doesn’t normally need to be baked in an oven.

    In most cases, you should not bake air-dry clay unless the manufacturer specifically says that the product can be heated. Putting ordinary air-dry clay in a household oven may cause cracking, warping, discolouration, or other damage.

    The safest approach is to let the clay dry slowly at room temperature and follow the instructions on the packaging.

    Does Air-Dry Clay Need to Be Baked?

    Air-dry clay does not need to be baked.

    The moisture inside the clay gradually evaporates when the finished project is left in a dry, well-ventilated place. As the moisture leaves, the clay becomes firm.

    This is one reason air-dry clay is popular with beginners. You can make small decorations, models, dishes, ornaments, and other projects without needing a kiln or specialist oven.

    However, air-dry clay usually takes longer to harden than oven-bake clay.

    What Happens If You Bake Air-Dry Clay?

    The result depends on the type of clay, the temperature, the thickness of the project, and how much moisture is still inside it.

    Possible problems include:

    • Cracking
    • Splitting
    • Warping
    • Bubbling
    • Scorching
    • Discolouration
    • Brittle edges
    • Uneven drying

    Heat may dry the outside of the clay much faster than the inside, which can create tension in the piece and cause cracks.

    Some air-dry clays also contain paper fibres, glue-like binders, or other ingredients that are not intended for heating.

    Can You Put Air-Dry Clay in a Normal Oven?

    You should not put air-dry clay in a normal oven unless the product instructions clearly state that it’s safe to do so.

    Most air-dry clay is made for room-temperature drying. A kitchen oven may become much hotter than the clay can safely tolerate, even if you only put it on a low setting.

    There may also be a risk of smells, smoke, or damage to the project if the clay contains ingredients that react badly to heat.

    Don’t assume that air-dry clay can be baked just because polymer clay can. They are different materials and harden in different ways.

    Can You Bake Air-Dry Clay to Make It Dry Faster?

    Baking air-dry clay may make the surface feel dry more quickly, but it doesn’t necessarily dry out the whole piece safely.

    A thick project may still contain moisture inside. Heating it too quickly can cause the outside to harden while the inside remains damp.

    This can lead to cracking later.

    It’s normally better to speed up drying by improving airflow rather than using direct heat.

    Place the project in a dry room with good ventilation. Turn it occasionally so that different sides are exposed to the air.

    Can You Put Air-Dry Clay in a Low Oven?

    Some people experiment with very low oven temperatures, but this still carries a risk.

    Even low heat can cause a project to crack or change shape. Household ovens can also fluctuate in temperature, making it difficult to control the drying process.

    Unless the clay manufacturer provides oven-drying instructions, room-temperature drying is the safer option.

    If the packaging says that gentle heat can be used, follow the stated temperature and time carefully.

    Can You Use a Microwave to Dry Air-Dry Clay?

    Air-dry clay should not normally be placed in a microwave.

    Microwaves heat moisture quickly and unevenly. This can cause the clay to become extremely hot, crack, bubble, or break apart.

    Some parts may remain damp while others overheat.

    Only use a microwave if the clay packaging specifically says that the product is microwave-safe and gives clear instructions.

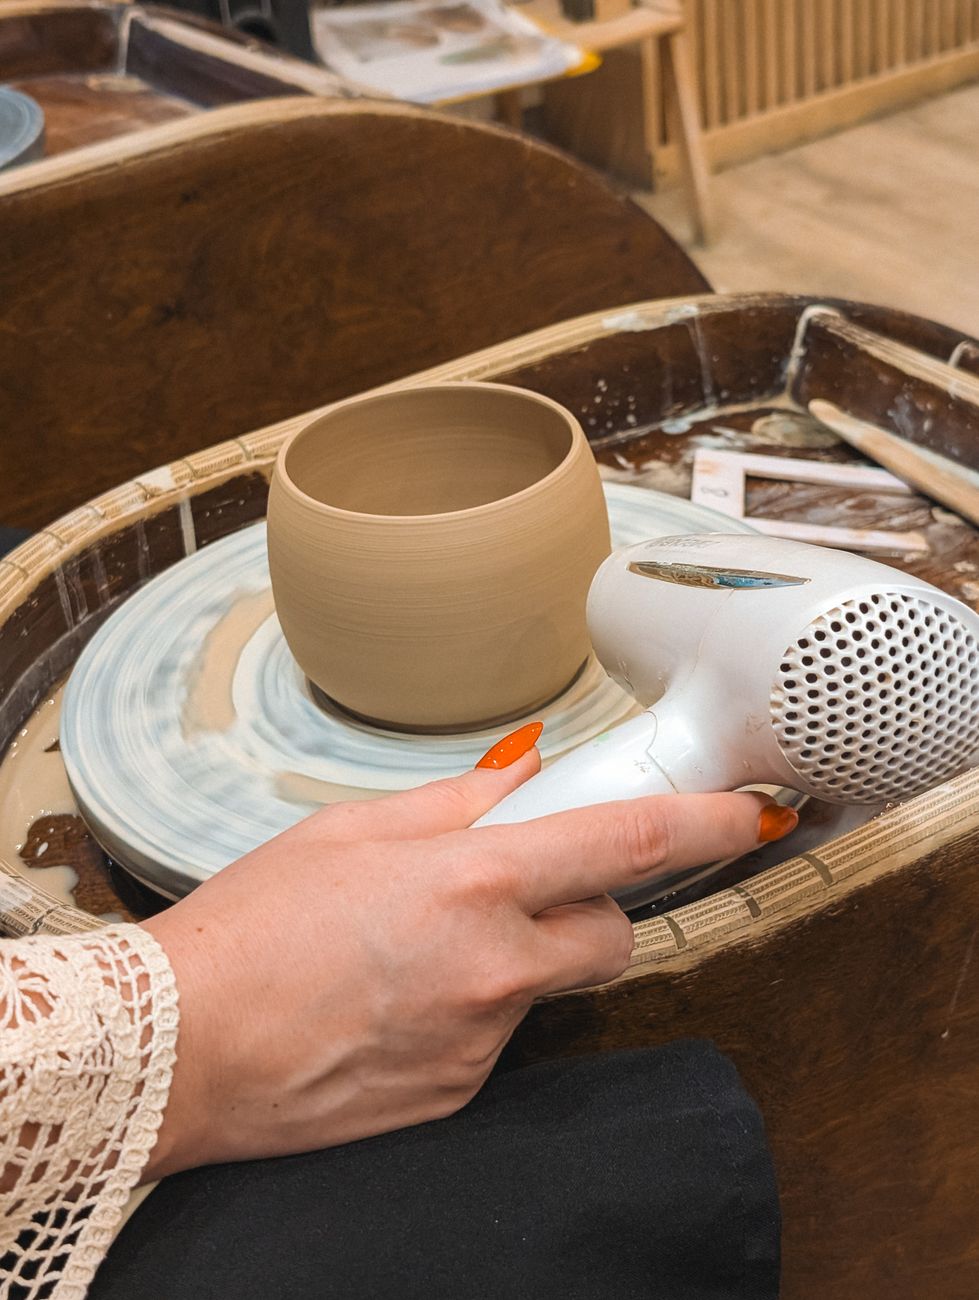
    Can You Use a Hairdryer on Air-Dry Clay?

    A hairdryer may help dry the surface, but it should be used cautiously.

    Strong or hot airflow can cause uneven drying, cracks, or curled edges. It may also move or damage delicate parts of the project.

    If you use a hairdryer, choose a cool or low setting and keep it at a distance. Move the airflow around rather than heating one area continuously.

    Natural drying is still usually safer.

    Can You Put Air-Dry Clay on a Radiator?

    It’s best not to try to dry air-dry clay directly on a radiator.

    The side closest to the heat may dry too quickly, while the other side remains moist. This can cause warping or cracking.

    Direct heat may also make thin pieces curl.

    Place the project in a warm but not hot room instead. Keep it away from radiators, heaters, fires, and strong sunlight.

    How Long Does Air-Dry Clay Take to Dry?

    Many small air-dry clay projects take around 24 to 72 hours to dry, but the exact time varies.

    Thick or large pieces may take several days or longer.

    Drying time can be affected by:

    • The thickness of the clay
    • The size of the project
    • The type of air-dry clay
    • Room temperature
    • Humidity
    • Airflow
    • Whether the project is turned during drying

    The outside may feel dry before the inside has fully hardened.

    How Can You Help Air-Dry Clay Dry Evenly?

    Make the project an even thickness where possible. Very thick areas take longer to dry than thin sections.

    Avoid placing the clay on a completely non-absorbent surface for the entire drying period. The underside may stay damp.

    You can dry the project on cardboard, wood, baking paper, or another suitable surface, depending on the clay instructions.

    Turn the project carefully after the upper surface has become firm enough to handle.

    Good airflow around the piece will help moisture escape.

    Can Thick Air-Dry Clay Projects Be Baked?

    Thick projects are particularly likely to crack if they are heated.

    The surface can harden while moisture remains trapped in the centre. As the inside continues to dry, the project may split.

    For larger models, it’s often better to use a lightweight centre made from foil or another suitable material, then add a thinner layer of clay around it.

    This reduces the amount of clay that needs to dry.

    Make sure that any internal material is appropriate for the project and does not trap moisture.

    Can You Bake Painted Air-Dry Clay?

    You should not normally bake air-dry clay after it has been painted.

    Paints, sealers, varnishes, and glues may react badly to heat. They may bubble, discolour, release unpleasant smells, or become damaged.

    Paint air-dry clay only after the clay has dried fully.

    Allow the paint to dry naturally as well.

    Is Air-Dry Clay the Same as Oven-Bake Clay?

    Air-dry clay and oven-bake clay are not the same thing.

    Air-dry clay hardens as water evaporates from it. It is usually intended to dry at room temperature.

    Oven-bake clay, often called polymer clay, remains soft until it’s heated according to the manufacturer’s instructions.

    Pottery clay is different again. It normally needs to be fired in a kiln at a much higher temperature.

    Always identify which type of clay you actually have before you try to use and harden it.

    Is Baked Air-Dry Clay Waterproof?

    Baking air-dry clay doesn’t automatically make it waterproof.

    Most air-dry clay remains porous after it has hardened. It can absorb water and may soften, stain, swell, or break down if it becomes very wet.

    A suitable sealer may improve water resistance, but it doesn’t always make the project completely waterproof.

    Air-dry clay is usually better for indoor decorative items than for objects that will be submerged in water.

    How Do You Know When Air-Dry Clay Is Fully Dry?

    The clay should feel firm and dry on all sides.

    It may also become lighter in colour as moisture leaves it.

    Check the bottom and any thick areas carefully, as these sections often take longer to dry.

    A project that feels cool may still contain moisture. Leave it for longer before painting or sealing if you are unsure.

    What Should You Do If Air-Dry Clay Cracks While Drying?

    Small cracks can often be filled with a little fresh clay or a mixture made from clay and water, depending on the product.

    Allow the repair to dry fully before sanding or painting.

    Large cracks may mean that the project dried too quickly or that part of it was much thicker than the surrounding clay.

    For future projects, use more even layers and avoid direct heat.

    Final Thoughts

    You don’t normally need to bake air-dry clay, as it’s designed to harden naturally when moisture evaporates from it.

    Putting it in an oven, microwave, or near strong direct heat may cause cracks, warping, discolouration, or other damage.

    For the best results, leave the project in a dry, well-ventilated room and allow it enough time to harden throughout. Always follow the care and drying instructions supplied with the clay.
  • Air Dry Clay Supplies For Beginners

    Air Dry Clay Supplies For Beginners

    Affiliate Disclosure: This page contains affiliate links. As an Amazon Associate, we earn from qualifying purchases, at no extra cost to you.

    Air dry clay is one of the easiest clay crafts to start, as you don’t need a heat source such as an oven (like for polymer clay) or a kiln (like for pottery clay). You just shape it, leave it to dry, and then paint it. For a finished look, you can also seal it.

    Beginners don’t need a huge tool kit. A small amount of clay, a flat work surface, surface protection, a rolling tool, something to cut with and a place to store everything is enough.

    What Supplies Do You Need for Air Dry Clay?

    A basic air dry clay starter kit could include:

    • Air dry clay
    • A smooth work surface
    • A rolling pin or acrylic roller
    • A craft knife or clay cutter
    • A small bowl of water
    • A sponge or damp cloth
    • Simple shaping tools
    • Sandpaper
    • Acrylic paint
    • Paintbrushes
    • Sealant or varnish
    • An airtight storage bag or container

    You can even start off with fewer supplies than this. For a very first air dry clay project, the essentials are clay, a clean surface, a roller, a cutting tool, and water.

    Air Dry Clay

    Unsurprisingly, this is the main supply you need.

    Air dry clay is soft when you open the packet but it dries when exposed to the air, as the water evaporates. It can be good for small decorative projects such as:

    • Ornaments
    • Tags
    • Beads
    • Very small bowls
    • Candle holders

    Choose a small pack to get you started; don’t buy too much clay before you know that you really enjoy this hobby.

    White air dry clay is good because it can be painted over. This makes it a better option to get started with than terracotta clay.

    A Smooth Work Surface

    In order to shape and roll your clay, you need a flat, clean work surface.

    You could use:

    • A plastic placemat
    • A silicon craft mat
    • A smooth tile
    • A acrylic sheet
    • Baking paper
    • An old chopping board, provided you use it only for clay

    It’s much easier to use a protective surface than trying to work directly on your own kitchen table or work desk. Protection such as a mat protects your surface, as well as making clean up significantly easier.

    Buying one craft mat may be a good call for a small space. You can take it out, make your clay project, and then put it away without making too much of a mess.

    A Rolling Pin or Acrylic Roller

    A rolling instrument helps to make the clay flat and even.

    You could use:

    • A small acrylic roller
    • A wooden rolling pin
    • A clean glass jar
    • A smooth bottle

    An acrylic roller can be a good tool to use, as clay doesn’t cling to it very much. If you are just getting started, however, you can use whatever you have to hand, instead of overinvesting in new equipment.

    Make sure that you roll your clay to an even thickness. Very thin clay can break or crack easily, whereas very thick clay can takes a long time to dry.

    Cutting Tool

    A cutting tool can help to cut shapes, trim edges, and remove extra clay.

    Options you may consider include:

    • A craft knife
    • A clay blade
    • A plastic clay knife
    • An old butter knife for simple cuts
    • Cookie cutters

    For beginners, it’s best to use simple tools, rather than buying lots of more advanced supplies. You can always invest more money later if you find you enjoy making air dry clay projects.

    Take care when using sharp tools and do not allow children to use them.

    If you use cookie cutters or butter knives, it’s best to keep dedicated tools aside. Don’t use the same equipment to next week to make a cake or sheet of cookies!

    Water and a Sponge

    Water is good for smoothing over clay and fixing mistakes.

    You can keep a small bowel of water to hand to wet your hands, using your fingertips to gently smooth over mistakes and cracks.

    Do not soak your clay in water, as too much water can make clay go sticky, weak, and hard to shape. Just use a little bit at a time.

    A damp sponge can be good for smoothing surfaces before the clay dries but, again, keep a separate sponge to hand instead of using your family’s kitchen sponge. Sandpaper can be used on dry clay for any more corrections.

    Simple Shaping Tools

    Whilst you can buy sets of clay tools, you likely don’t need too many when you are just starting out with the hobby. Simple tools you could consider include:

    • Wooden modelling tools
    • Toothpicks
    • Skewers
    • Old paintbrush handles
    • Plastic knives
    • Bottle camps
    • Stamps
    • Lace of textured fabric for patterning

    These can be used to make marks, patterns, and other details, to make your project more interesting.

    If you are a complete beginner, you don’t need to go overboard with the details. You can experiment over time to see what adds extra flair. However, adding a few textures is far easier for a beginner than trying to use lots of advanced tools.

    Sandpaper

    Once your clay is fully dry, you can use sandpaper to smooth rough edges. Use fine sandpaper and work gently. This is especially good for:

    • Trinket dishes
    • Ornaments
    • Tags
    • Beads
    • Flat decorations

    Do not sand wet or partly dry clay; wait until the whole project has hardened fully.

    As sanding can create dust, make sure that you wipe your piece down before you dry to paint it, and work carefully.

    Acrylic Paint

    Acrylic paint is a good choice for decorating your clay pieces. It’s easy to get hold of and comes in many different colours. That said, you really do not need too many colours to get started, just a few are enough.

    Good starter colours to consider are:

    • White
    • Black
    • Brown
    • Green
    • Blue
    • Pink
    • Gold or other metallic paint

    Only paint once your clay is completely dry. If you try to paint too early, it can lead to patchiness, as moisture gets trapped.

    Paintbrushes

    A small set of basic brushes is more than enough to get you started.

    Useful types of paintbrush include:

    • A medium flat brush for larger areas
    • A small round brush for details
    • An old brush for dry brushing or adding texture
    • A soft brush for sealant

    As a beginner, you do not need lots of expensive brushes to get you started. Whilst you are learning, sticking to a few cheaper brushes is fine.

    Sealant or Varnish

    A sealant helps to protect air-dry clay to and gives it a more finished surface.

    Common options include:

    Using sealant doesn’t make air dry clay waterproof, do it’s best to use it for decorative projects only. Air dry clay is not food safe.

    Sealant is highly recommended, but it’s not absolutely essential for complete beginners.

    Storage for Leftover Clay

    As air dry clay dries when exposed to the air, it is essential that you store it in an air-tight container.

    This could be:

    • A plastic bag
    • A sealed tub
    • Cling film inside a container
    • An airtight pouch

    What Should Beginners Buy First?

    Beginners to using air dry clay can start with:

    • A small pack of air dry clay
    • A craft mat
    • A roller
    • A cutting tool
    • A small set of paint
    • A brush set

    What Can Wait?

    The following supplies may prove useful in time, but you likely don’t need them straight away:

    • Large sets of clay tools
    • Special texture rollers
    • Silicone moulds
    • Letter stamps
    • Expensive varnishes
    • A large number of paints
    • Clay extruders
    • Detailed sculpting tools

    Budget Air Dry Clay Starter Kit

    A cheap beginner set up could include:

    • A small pack of white air dry clay
    • A mat
    • A rolling pin or glass jar to roll out clay
    • A butter or plastic knife
    • A small bowl of water
    • A couple of acrylic paints
    • One or two brushes
    • A toothpick or skewer for detailing

    Small Space Air Dry Clay Set Up

    Air dry clay can work well in a smaller home if you have the right set up system and keep your supplies contained together.

    A simple set up should be able to fit into:

    • A plastic storage box
    • A drawer
    • A craft caddy
    • A lidded tub for tools and paints

    Ensure that you keep air dry clay sealed tightly, and store paints upright if possible. Use a mat or a tray whilst you work to protect surfaces and keep everything together.

    For your motivation, it’s easier to ensure that supplies are easy to unpack and then pack away.

    Common Beginner Mistakes

    A common beginner mistake is using too much water. Whilst a bit of water is good for smoothing down your clay for moulding, too much can make it weak and sticky.

    Making pieces too thick is another common problem, as it takes longer to dry and may crack if the outside of the clay dries faster than the inside does.

    Also ensure that you don’t dry to paint your piece too soon, before it’s fully dried out. Again, this can be an issue if the outside of the clay appears to be dry, but the inside isn’t fully hardened yet.

    And finally, as ever, make sure you don’t overinvest in tools before you are sure that making things with air dry clay is a suitable hobby for you. Start with the basic supplies only and then move onto more advanced tools once you are more versed in what you want to make and how to use clay.

    Final Thoughts

    Air dry clay is a very beginner friendly material that is easier to use than pottery or polymer clay. It doesn’t require an external heat source to dry out, such as an oven or kiln.

    Beginners need only start with a few basics, such as clay, a place to work, a roller, cutting board, water, paints, and a place to store items.

    You can then move onto more advanced tools in time, such as varnish, texture materials, moulds, and better brushes.

    Read Next