Category: Cross Stitch

  • Can You Iron Cross Stitch?

    Can You Iron Cross Stitch?

    Yes, you can iron cross stitch, but you should take care not to flatten, scorch or damage the stitches.

    It’s better to iron your completed cross stitch piece from the back rather than pressing the iron directly onto the front of the design. Placing the work on a soft towel can also help protect the raised texture of the stitches.

    How Do You Iron Cross Stitch Safely?

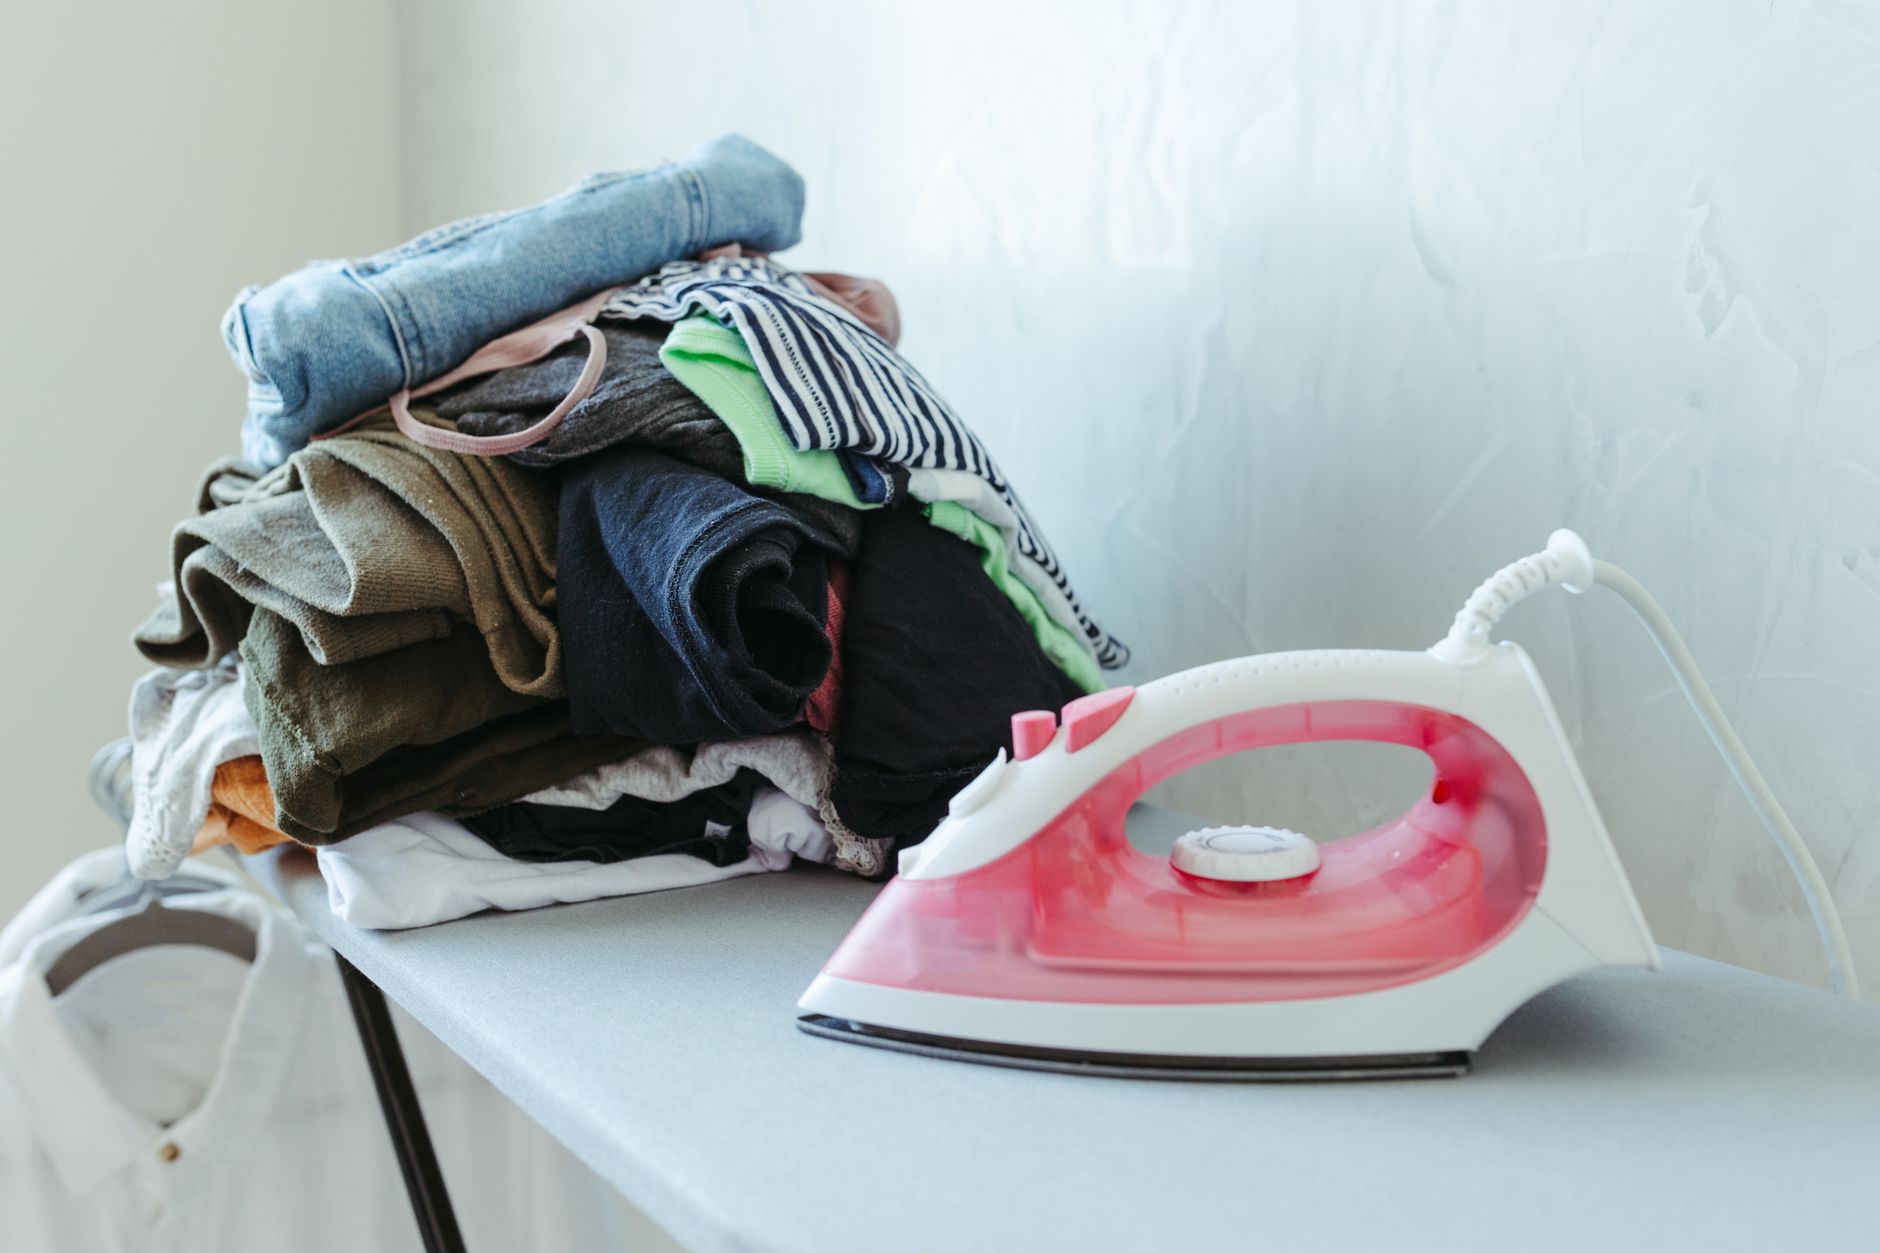
    Place a clean towel on your ironing board and lie the cross stitch face down on top of it.

    The towel provides a soft surface, helping the stitches keep their shape rather than being pressed completely flat.

    Set the iron to a low or medium temperature that is suitable for the fabric and thread you used. Then iron the back of the fabric using gentle movements.

    Avoid holding the iron in one place for too long, just like you would when ironing your normal clothes.

    You can place a clean pressing cloth between the iron and the back of the cross stitch if you want to be extra careful.

    Should You Use Steam?

    A small amount of steam may help remove stubborn creases, but check that your fabric and threads are colourfast first.

    Some hand-dyed fabrics, specialist threads and metallic threads may react badly to moisture or heat, in which case you should avoid using steam.

    When you are uncertain, use a dry iron on a low setting and test a small, less noticeable area first.

    Can You Iron Directly Over the Stitches?

    It’s advised not to iron directly over the front of the stitches.

    Direct pressure can flatten the thread and reduce the textured appearance of the finished cross stitch. Heat may also damage synthetic or metallic threads.

    Ironing from the back lets you smooth the fabric without placing the full weight of the iron onto the design.

    Should You Wash Cross Stitch Before Ironing It?

    You can gently wash finished cross stitch before ironing it if the project has become marked or creased while you were working on it.

    Check that all the materials are washable and colourfast before trying this, though.

    Allow the cross stitch to become partially dry, then iron it from the back while it is still slightly damp. This can make wrinkles easier to remove.

    Do not iron a project that is still dripping wet.

    Can You Iron Aida Fabric Before Stitching?

    You can iron Aida before you start a new project if it has deep folds or creases.

    Use a suitable heat setting and iron the reverse of the fabric. Avoid stretching or distorting the grid while ironing.

    Minor creases may also disappear naturally once the finished project is washed, pressed and framed.

    What About Metallic Threads and Beads?

    Take extra care if the cross stitch contains metallic thread, beads, sequins or other decorations.

    Metallic threads may melt, become distorted or lose their finish when exposed to high heat. Plastic beads can also be damaged by an iron (remember Hama beads?)

    Use the lowest practical temperature and avoid ironing directly over these areas. For heavily decorated projects, gentle steaming from a safe distance may be more suitable than pressing.

    Final Thoughts

    You can iron cross stitch safely by using a low or medium heat, working from the back and placing the design face down on a clean towel.

    Avoid pressing directly onto the stitches, and be especially cautious with metallic threads, hand-dyed materials and added decorations. A gentle approach should remove creases whilst still preserving the texture of the finished design.
  • Do You Need a Grime Guard for Cross Stitch?

    Do You Need a Grime Guard for Cross Stitch?

    No, you don’t need to use a grime guard for your cross stitch projects.

    You can complete a project without one by washing your hands before stitching, handling the fabric carefully and storing your work somewhere clean. A grime guard is an optional accessory that may make a project easier to maintain and keep tidy, if you decide it’s an investment you want to make.

    What Is a Cross Stitch Grime Guard?

    A grime guard is an elasticated fabric cover that fits around an embroidery hoop, frame or Q-Snap.

    It covers the edges of the project where your hands would usually hold it. This helps to protect the your fabric from dirt, stains and natural oils from your hands. It can also hold excess fabric around the outside of the frame and keep it away from the area being stitched.

    When Is a Grime Guard Useful?

    A grime guard may be particularly helpful when:

    • The project will take a long time to complete
    • You are working with pale fabric
    • A large amount of fabric hangs outside the frame
    • You regularly hold the frame around its edges
    • You want to keep loose fabric away from your stitching

    It may be less useful for a small project that can be completed quickly or when there is little excess fabric to contain.

    Can You Cross Stitch Without One?

    Yes, you absolutely can, as grime guard doesn’t affect the actual stitches themselves.

    If you are not sing one, you can try to hold the hoop or frame rather than directly touching the fabric. Wash and dry your hands before stitching, keep food and drinks away from the project and cover it when it’s not being used.

    You could also loosely roll or fold excess fabric away from the stitching area, ensuring you don’t crease or damage your completed stitches.

    Should Beginners Buy a Grime Guard?

    Beginners don’t need to buy a grime guard before they try cross stitch.

    You can start just with the fabric, thread, needle, pattern and your preferred hoop or frame. Consider then adding a grime guard if you find that excess fabric gets in the way or you are concerned about keeping a longer-term project clean.

    A grime guard can be convenient, but it’s really not an essential piece of kit.

  • What is a Floss Bobbin?

    What is a Floss Bobbin?

    A floss bobbin is a small flat holder that is used to store embroidery floss neatly.

    The floss is wound around the bobbin instead of being left in its original skein. This can help to prevent tangles and make your colours easier to organise.

    What Are Floss Bobbins Made From?

    Floss bobbins are commonly made from:

    • Plastic
    • Card
    • Thick paper

    Plastic bobbins are reusable and more durable, while card bobbins are inexpensive and easier to label.

    How Do You Use a Floss Bobbin?

    The end of the embroidery floss is placed through a small slot, then the floss is wound evenly around the bobbin.

    You can write the colour number or brand on the bobbin so that the thread is easy to identify later.

    How Are Floss Bobbins Stored?

    Floss bobbins are often kept in divided storage boxes. The bobbins can be organised by:

    • Colour
    • Colour number
    • Brand
    • Project
    • Thread type

    This makes it easier to see which colours you already own.

    Do You Need Floss Bobbins for Cross Stitch?

    Floss bobbins are not essential for cross stitch or embroidery, as floss can also be stored in its original skein, in small bags or on thread organisers.

    However, bobbins can be quite useful if you have several colours and want a compact, organised storage system. They are especially helpful for keeping any leftover floss from completed projects.

  • What Is a Needle Minder?

    What Is a Needle Minder?

    A needle minder is a small magnetic accessory used to hold a needle while you are cross stitching or embroidering.

    It normally has two magnetic parts. One sits on the front of the fabric and the other sits behind it, holding the needle minder securely in place without making a hole. The front part is usually a decorative shape.

    What Is a Needle Minder Used For?

    A needle minder gives you somewhere safe to place your needle when you pause or take a break with stitching.

    This can help prevent the needle from:

    • Becoming lost
    • Falling onto the floor
    • Becoming caught in clothing
    • Being left loose on a table
    • Damaging the fabric

    The needle rests against the magnetic front of the minder until you are ready to continue with your piece.

    Do You Need a Needle Minder for Cross Stitch?

    A needle minder is not essential, but many cross stitchers find it convenient.

    Alternatively, you can also keep your needle in a pincushion, needle case or project box. However, a needle minder stays attached to the fabric, so it’s easy to reach while you work.

    Can a Needle Minder Damage the Fabric?

    A needle minder shouldn’t make holes because it’s held in place by magnets rather than with a pin.

    However, you should avoid dragging it across delicate fabric if you can. It is also probably a good idea to remove it before washing, ironing or storing a finished project for a long period.

    Are Needle Minders Good for Beginners?

    Needle minders are very easy to use and can help beginners keep their workspace organised.

    They are available in many decorative designs, but their main purpose is more practical; keeping your needle secure and easy to find when you return to work.

  • How to Stop Embroidery Floss Tangling

    How to Stop Embroidery Floss Tangling

    Embroidery floss can tangle when the thread is long, twisted, or pulled too tightly. This is a common issue for beginners, but can be avoided by taking a few precautions.

    Why Does Embroidery Floss Tangle?

    Floss can tangle for a few different reasons, namely:

    • The piece of floss is too long.
    • The strands are twisting as you stitch.
    • The floss hasn’t been separated properly.
    • You are using too many strands for the fabric.
    • The thread is frayed or worn.
    • You are pulling the thread too tightly.
    • The needle is twisting in your hand.
    • The floss is catching on the fabric.
    • The thread is being pulled through too quickly.
    • Loose floss has been stored in an unorganised fashion before use.

    How to Avoid Floss Tangling

    To avoid tangling, you can do the following simple fixes:

    • Use a shorter length of floss
    • Separate the strands before stitching
    • Pull out one strand at a time, then re-combine them when you thread them through the needle.
    • Let the needle hang down occasionally so that your thread can untwist.
    • Pull the floss through the fabric gently.
    • Avoid yanking knots tight.
    • Replace your floss if it starts to look worn or ‘fuzzy’.
    • Use the exact number of strands that your pattern recommends.
    • Keep unused floss on bobbins, cards, or labelled bags.
    • Slow down slightly if your thread keeps catching.

    Using short thread will probably give you the highest ROI here, as very long thread can get twisted very easily.

    Read Next

  • How Many Strands of Floss Do You Use For Cross Stitch?

    How Many Strands of Floss Do You Use For Cross Stitch?

    Many beginner cross stitch patterns use two strands of embroidery floss, but the right number depends on the fabric you are using, the pattern you are following, and what you want your project to look like.

    How Does Embroidery Floss Work?

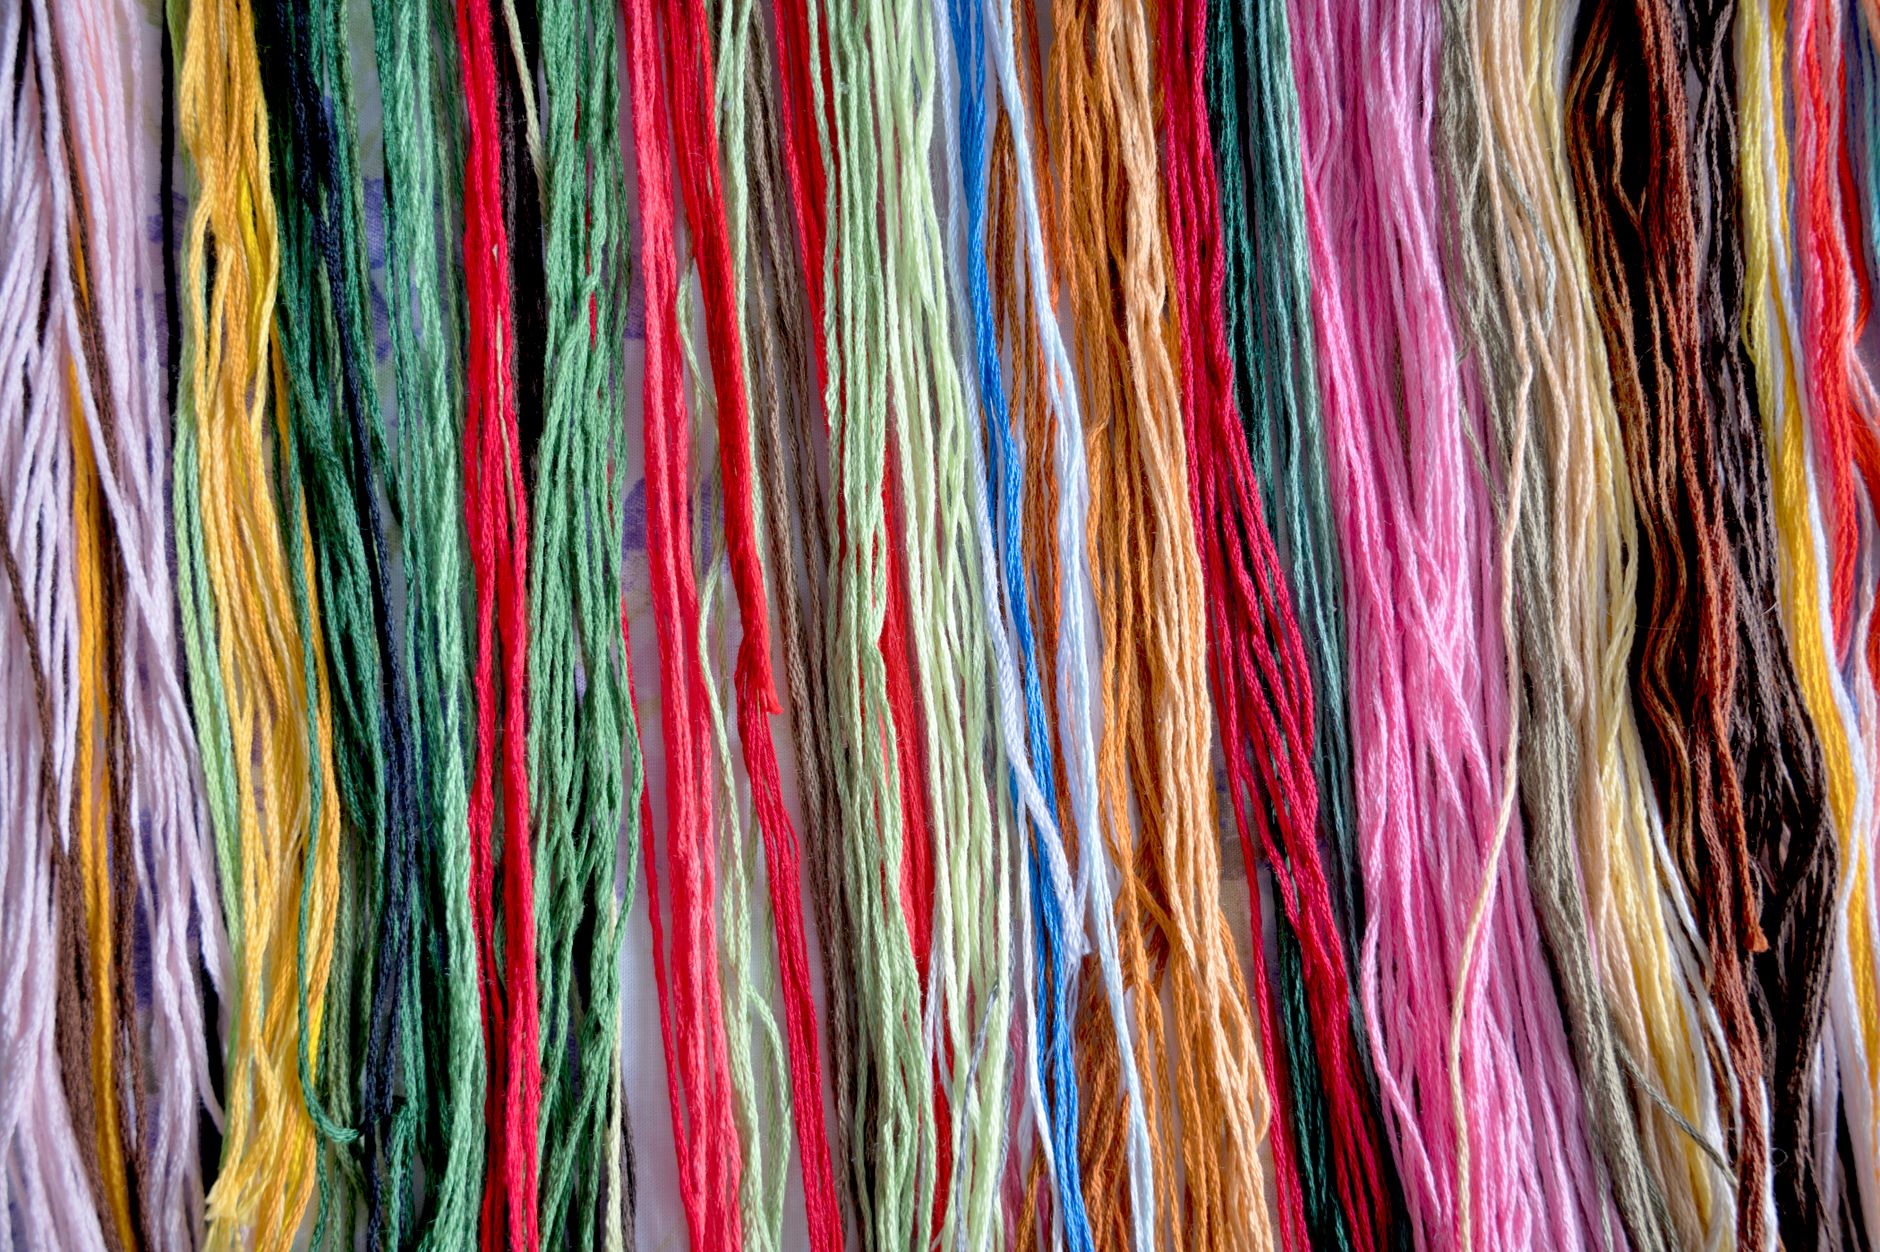
    Embroidery floss usually comes as one thread that is made from six thin strands that are twisted together.

    When a pattern tells you to use two strands, that means that you separate two thin strands from the main length of floss and use those together in your needle.

    You are not meant to use all six strands together, unless the pattern specifically tells you to.

    How Many Strands Do Beginners Usually Use?

    Many beginners use two brands out of the six for cross stitch, especially on fabric such as 14-count Aida.

    Using two strands of floss helps to give you good coverage without making the stitches too bulky.

    A simple rule is:

    • One strand– light, finer stitches
    • Two strands– a common starting point for beginners
    • Three strands– thicker, bolder stitches

    Does the Fabric Count Matter?

    Yes, the fabric count can affect how many strands look the best.

    Fabric count refers to the number of squares or stitches that can fit onto one inch of fabric. In other words, a lower count has larger holes and a higher count has smaller holes.

    If 14-count Aida is often used with two strands, then finer fabrics may need fewer strands, whereas fabrics with a larger count may need more strands.

    How Do You Separate Embroidery Floss?

    Cut a short length of floss, then gently pull off a couple of strands, one at a time. Doing this one at a time can help to reduce the likelihood of tangling.

    Then, you can recombine then together as you thread them through the needle.

    What Happens If You Use Too Many Strands?

    Using too many strands can make the stitches look bulky. It can also make the needle harder to pull through the fabric.

    What Happens If You Use Too Few Strands?

    If you use too few strands, the stitches can look very thin. This can also mean that you see too much fabric showing through the design.

    Some patterns may deliberately use fewer strands of floss, but this has to be an intentional effect. Using too few strands than the pattern demands may result in an undesirable, thin effect.

    Should You Use the Same Number of Strands For Backstitch?

    Not always. Backstitch is done afterwards, usually in order to create details. Some patterns may specify using only one strand for backstitch. Again, it’s best to consult the instructions for your kit or project to make sure you get the correct effect.

    Beginner Tip

    If you are using a beginner kit, you don’t need to guess. Somewhere in the instructions, you will be able to find how many strands to use.

    If you don’t have instructions to follow or are using your own pattern, using two strands of floss on 14-count Aida is a great starting set up for beginners.

    Read Next

  • What Is Embroidery Floss?

    What Is Embroidery Floss?

    Embroidery floss is a type of thread that is used in cross stitch and other types of embroidery. It usually comes as a bundle of thread, which is called a skein. Each length of floss consists of several thinner strands.

    What Is Embroidery Floss Used For?

    Embroidery floss is used to make decorative stitches in fabric. It is commonly used for:

    • Cross stitch
    • Hand embroidery
    • Friendship bracelets
    • Felt crafts
    • Decorative sewing

    In cross stitch, different colours of thread are used to fill in a design or pattern.

    What is Embroidery Floss Made Of?

    Most floss is made out of cotton. Alternatively, it can be made from polyester, silk, or rayon. It is usually soft with a slight shine to it.

    A normal piece of floss has six strands that are twisted together. However, you don’t usually use all six; for beginner projects, two strands is usually the preferred amount.

    What is a Skein of Embroidery Floss?

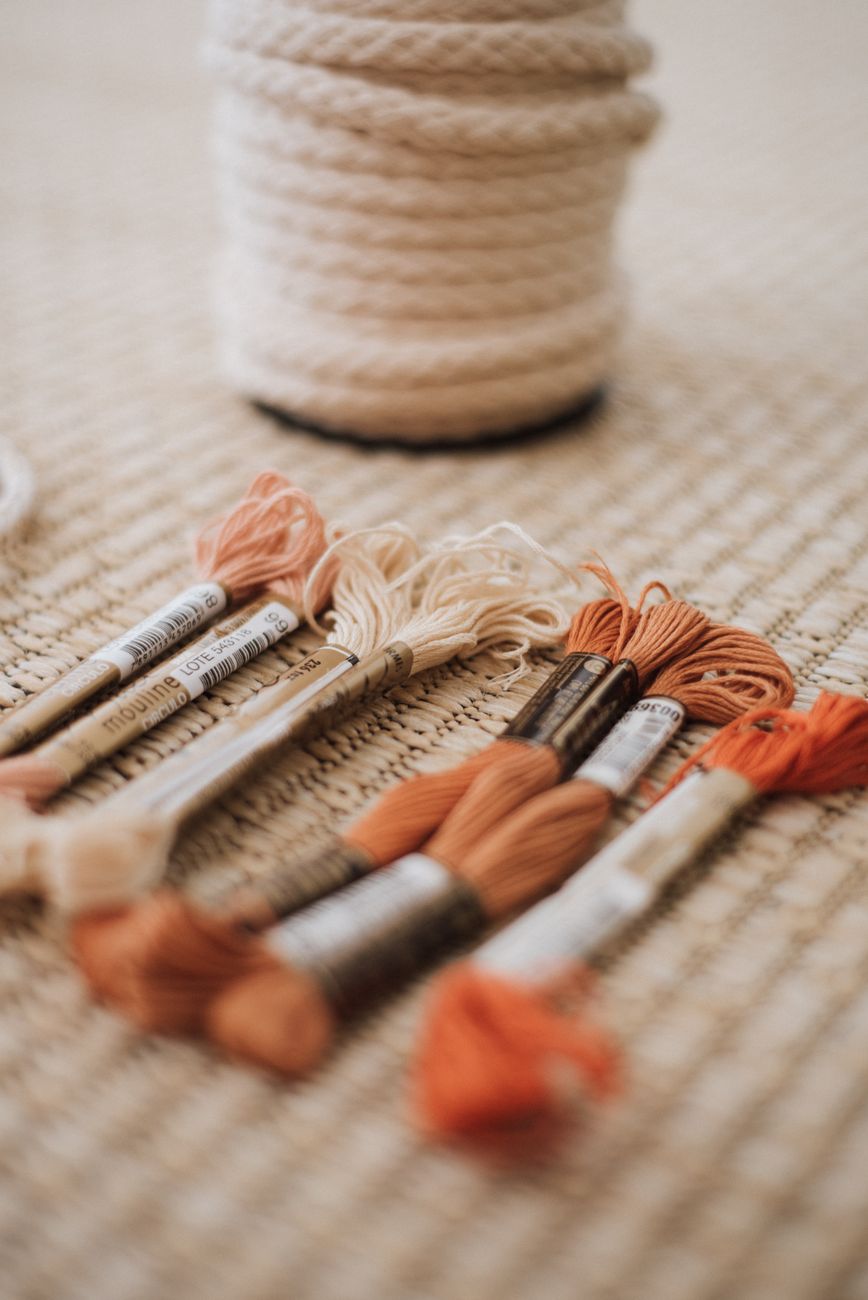
    Floss is usually sold in bundles called a ‘skein’. They usually contain a piece of paper in the middle, which contains information about the exact colour, such as an identifying number. This means that you can easily find the same colour if you ever need to buy it again.

    Is Embroidery Floss the Same as Sewing Thread?

    No, embroidery floss is not the same thing as standard sewing thread. Sewing thread is usually thinner and used to sew pieces of fabric together. Embroidery floss, on the other hand, is thicker and more decorative.

    How Many Strands Do You Use?

    This depends on your project. Many beginner patterns use two strands of floss, especially on fabric such as 14-count Aida.

    If you are following a pattern or a kit, it should tell you how many strands to use. Check the instructions before you get started.

    Is Embroidery Floss Good For Beginners?

    Yes, embroidery floss is cheap, easy to find, and simple to use if you are aware that it should be separated into strands.

    Beginners don’t need lots of colours at first. A small kit or a few basic colours are enough to start.

    Read Next

  • What to Do With Finished Cross Stitch

    What to Do With Finished Cross Stitch

    Finishing a cross stich project can be incredibly satisfying. After all that hard work and hours invested, however, you may be wondering, ‘What comes next?’

    Even the smallest of designs don’t need to be confined to a drawer. Whether your finished piece is large and elaborate or from a beginner kit, you can put it to good use.

    Frame Your Cross Stitch

    One of the most common ways to display cross stick artwork is in a frame. This is great for designs that you wish to store on a wall, shelf, or desk.

    You can use a normal picture frame, but it is good to ensure that your cross stitch is clean, flat and centred before you frame it. Some people opt for a mount or mat around the actual stitching, in order to give it a neater finish.

    Framing can be a good option for pieces such as:

    • Samplers
    • Quotes
    • Floral designs
    • Animal designs
    • Larger finished pieces
    • Gifts

    For beginners, a simple frame is best. You don’t need to worry about professional framing if this is your first project!

    Display It in an Embroidery Hoop

    Another good option, especially for beginners, is to leave smaller pieces inside an embroidery hoop, effectively creating a small, circular frame.

    You do this by trimming any extra fabric around the edges of the hoop.

    Hoop display is a simple way for beginners to display their work, as it doesn’t require the purchase of any extra supplies. You also don’t need to worry about whether you intend to mount or mat your finished work.

    The only disadvantage is that, if you want to keep displaying a piece indefinitely, it ties up your hoop and prevents it being used in another project.

    If you are willing to buy another hoop, need to graduate to a frame, or have decided that you won’t be pursuing further cross stitch projects any time soon, then a hoop can work very well.

    Turn It Into a Card

    Small cross stitch designs can be turned into handmade cards. If you enjoy both card making and cross stitch, this is a lovely intersection of the two hobbies!

    You could make cross stitch patterns into cards for birthdays, Christmas, weddings, thank-you cards, or any other special occasion of your choice.

    Patterns you could consider for cards include:

    • Initials
    • Small flowers
    • Hearts
    • Christmas motifs
    • Simple animals

    If you have created a small design that doesn’t feel big enough to frame, consider using it for a card.

    Make a Bookmark

    Long and narrow projects can be turned into bookmarks.

    If you want to do this, you may consider reinforcing the cross stitch at the back with a felt, card, or other fabric to make it stronger. For extra decoration, you can add ribbon or tassels.

    Use It as a Patch

    Small designs that are square or circular could also be turned into patches to be used on bags, jackets, or to cover holes in jeans.

    To avoid the design fraying, you might consider stitching around the edges.

    Cross stitch patches can be used on:

    • Tote bags
    • Denim bags
    • Craft bags
    • Pencil cases
    • Fabric boxes
    • Project pouches

    Make a Decoration

    In a similar way, smaller projects could be turned into a small hanging decoration. This can be great for seasonal decorations, such as Christmas and Easter.

    You can mount your stitched piece onto felt, card, or fabric and then add ribbon or string for hanging.

    This works very well for:

    • Christmas tree decorations
    • Door hangers
    • Mini wall hangings
    • Seasonal crafts
    • Gift tags
    • Homemade keepsakes

    Turn It Into a Gift

    As it takes so much time and care, cross stitch can make a great gift. You can choose a design that matches your recipient’s interests, name, home, or even a special date.

    Your finished cross stitch could become:

    • A framed picture
    • A hoop decoration
    • A card
    • A bookmark
    • A Christmas ornament
    • A personalised keepsake

    If you are creating your cross stitch to be a gift, think about how the person will actually display the piece. It may be easier to create something small for them to hang, rather than a large piece that needs to be displayed in a frame.

    Turn It Into a Craft Journal or Scrapbook

    If you enjoy keeping a record of what you have made, you can add small finished pieces to a craft journal or a scrapbook.

    This method can work really well for test or practice pieces, allowing you to document your cross stitch journey as you improve.

    You could also add notes about:

    • The pattern you used
    • The colours
    • The date you finished it
    • What you learned from it
    • What you might do differently next time

    How to Store Unfinished Cross Stitch Safely

    You don’t have to finish every cross stitch project all in one. Sometimes, you may want to put a half-finished piece to one side whilst you decide what to do with it.

    Try to keep your work-in-progress clean, dry, and flat. Avoid leaving it scrunched up in a bag, as this can create creases that are hard to remove later on.

    You could consider storing finished pieces in:

    • A folder
    • A plastic wallet
    • An acid-free envelope
    • A project bag
    • A flat storage box

    You could keep any instructions or charts stored with your piece, in order to make it easier to pick up later. The same goes for thread and other project-specific equipment.

    Should You Wash Finished Cross Stitch?

    Some people like to wash their cross stitch projects before they display them, especially if the fabric has marks from handling. This can also apply to fabric that has been stored away.

    Whether it’s a good idea to wash your project depends on the materials used. Before washing, you need to check whether the fabric and thread are colourfast. This means that they will not bleed and run when washed.

    If you are working from a kit, you may be able to consult the instructions to see whether your threads and fabric are suitable for washing.

    If your piece looks clean, you may not need to wash it.

    What is the Easiest Finish For Beginners?

    The easiest option for beginners is probably to store the cross stitch in an embroidery hoop or simple frame. Using a hoop is a very simple option as you can use it whilst working on the project, and then store it almost instantly. You just need to cut away any excess fabric.

    Final Thoughts

    There are plenty of options for storing or using your finished cross stitch pieces. Beginners may want to opt for a simple solution such as framing in an embroidery hoop or small frame, or turning their creation into a gift, decoration, bookmark, or patch.

    Read Next

  • What Do You Need to Start Cross Stitch?

    What Do You Need to Start Cross Stitch?

    Affiliate Disclosure: This page contains affiliate links. As an Amazon Associate, we earn from qualifying purchases, at no extra cost to you.

    Cross stitch is one of the easiest needle crafts to get started with because you don’t really need many supplies. A basic beginner kit only needs to contain a few items; fabric, thread, a needle, scissors, and a simple pattern to follow.

    The Basic Supplies You Need For Cross Stitch

    To get started with cross stitch, the basic supplies you generally need are:

    • Cross stitch fabric, such as Aida
    • Embroidery floss
    • A tapestry needle
    • A small pair of scissors
    • A cross stitch pattern
    • An embroidery hoop (optional)

    Cross Stitch Fabric

    The most common fabric for beginners is called Aida. You may see this referred to as Zweigart Aida, as Zweigart is a German company that is the largest producer of this type of cloth.

    Aida is great for beginners as it contains a number of holes for your needle to be thread into. This allows you to make a stitch over each square on the grid, and count your stitches easily.

    Many beginners start off with 14-count Aida, which means that each inch of fabric has 14 squares. This allows for easy stitching, without compromising too much on picture detail.

    Other types of cloth that you may eventually progress to include evenweave and linen.

    Embroidery Floss

    This is the thread that is used to make stitches. It usually comes in small, oval shaped bundles called skeins.

    Most embroidery floss is made up of six separate strands. For cross stitch, you may need to separate the floss out and only use some of the strands. Many beginners only use two brands on 14-count Aida cloth, but you should check the instructions if you are following a kit.

    Tapestry Needle

    Cross stitch usually uses a tapestry needle, which has a blunt tip and larger eye. This means that it’s easy to thread with strands of floss.

    Having a blunt tip to the needle means that it can pass through fabric without splitting threads.

    Small Scissors

    You will need a small pair of scissors to cut through the embroidery floss. You can use embroidery scissors, which are small and sharp, but you don’t need anything special.

    Cross Stitch Pattern

    A cross stitch pattern tells you where to place each stitch and which colour you need to use. Patterns are a chart that uses a set of symbols and marks to denote colours and other instructions (such as what type of stitch to make).

    The key then helps you to translate what colour each symbol denotes.

    If you are a complete beginner, it’s best to start with a simpler pattern, instead of something that uses too many different colours and stitching techniques.

    Embroidery Hoop

    A hoop can help you to hold fabric in place and make it taut as you work. A frame is a similar contraption, but holds a much larger piece of fabric, rather than just a section.

    This isn’t absolutely essential for a beginner, especially if you are using Aida. This is because Aida is starched, so is strong enough to hold. However, if you don’t like your fabric ‘flopping’ at all as you work, you could consider investing in a cheap embroidery hoop.

    Is It Better to Buy a Cross Stitch Kit?

    For many beginners, it can be. However, there are a few things to keep in mind to ensure that you get a beginner-friendly choice.

    If you are entirely new to cross stitch, you may find it easier to buy a kit that gives you only one or two very small patterns to follow. Look for a mini cross stitch kit, where you can try out a smaller design, rather than trying to tackle a large picture.

    However, if you want to be more flexible, it may be best to stay a way from a kit and create your own design. This is probably more achievable if you are not a complete beginner, so it’s probably best to leave this until you have more experience.

    Read Next

  • What is a Cross Stitch Key?

    What is a Cross Stitch Key?

    A cross stitch key shows you what thread colour to use for each symbol on the chart. It is used in counted cross stitch, where the fabric that you are using is blank. So, in order to know which colour floss you need to use, you have to follow the key.

    How Does a Cross Stich Key Work?

    A cross stitch chart consists of small squares, each of which contains a symbol, colour, or other mark.

    You then use the separate key to tell you which colour a symbol refers to.

    In some kits, the key goes beyond just colours. It can include things like thread numbers, colour names, or the number of strands that you need to use.

    Why Is a Cross Stitch Key Important?

    A cross stitch key is vital to prevent mixing up your colours in a counted kit, so that you make the same picture as the box!

    For complete beginners, however, the key can feel quite confusing and overwhelming, as there are a lot of symbols to take in and you have to alternate between looking at your work, the chart, and the key. Whilst you will get used to it in time, following the chart properly can be hard work and take practice and patience at first.

    Is the Key the Same as the Chart?

    No. The chart tells you where stitches need to go, whereas the key explains what the symbols on the chart actually mean.

    How Can Beginners Follow a Key?

    By keeping patient and working slowly, beginners to cross stitch can learn to decipher and follow a key.

    However, if you are brand new to the hobby and find the key and chart too overwhelming to follow, you may consider opting for a stamped cross stitch kit instead. This has the patterns printed on the fabric, rather than requiring you to follow a chart.

    Read Next